Objective
The goal of this project is not only to create a logo, but to develop a thorough process in creating an identity mark which should work even when you feel like inspiration isn’t coming easily. You will explore the visual elements that make up a company’s personality: typography, graphics, color and the interplay and application of these elements. You will also investigate the ways in which a logo’s design can communicate with a target audience.
Instructions
You will be designing the logo and creating the identity for a company, the name and type of which will be determined in class.
At any point in the following steps of the project, if you have not met the goal of that step, you will be told to complete that step (for example, creating additional sketches which are more distinct). All milestone deadlines must still be met, so be sure and explore thoroughly at each step to stay on track. Do not attempt to skip any steps, or you will be asked to go back and follow specs.
- Digital document size: 6×6 inches
- Logo size: 2×2 inches
Step 1: Preliminary Sketching / Research
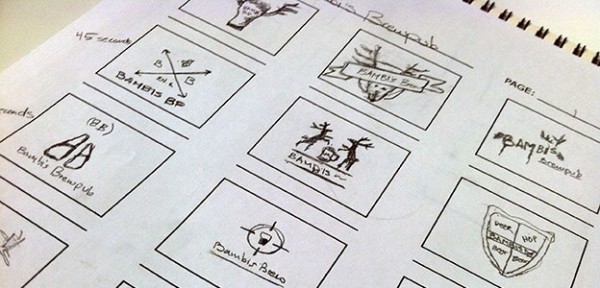
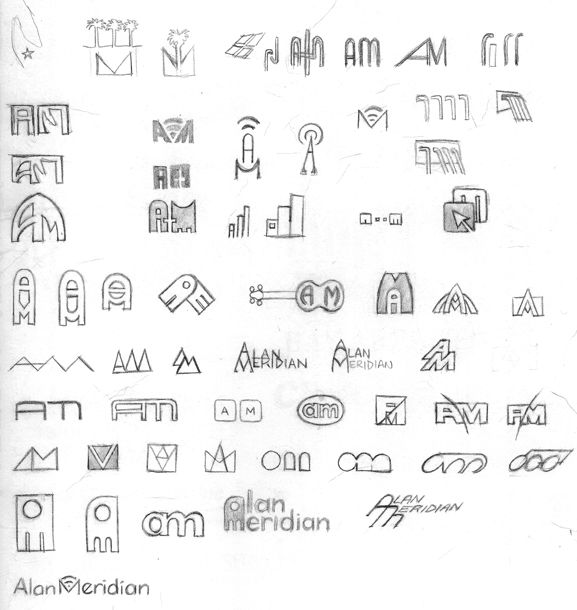
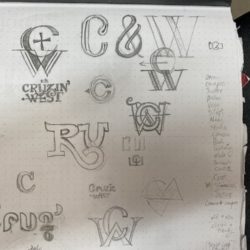
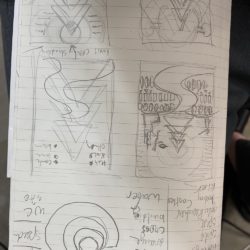
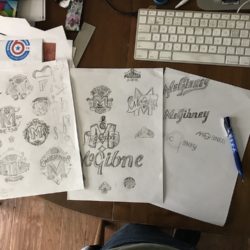
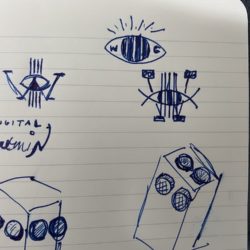
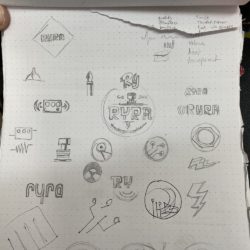
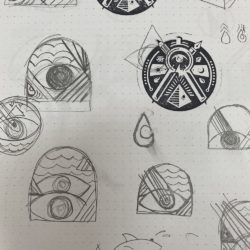
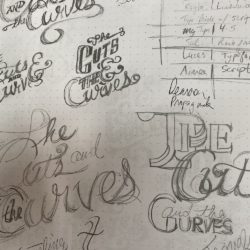
Begin sketching ideas for your logo, and creating word lists to help make connections that you can express visually (For example, “Tree + Woman”). Your list should be around 20 words or more (anything that comes to your head). Try to use different types of words, such as nouns and adjectives, so that you have a well-rounded vocabulary to pull from. Before you begin sketching logos, you should also sketch symbols and simple imagery that come to your mind along with your word lists; create little object doodles without filtering yourself. Then, begin to find clever or nice, natural ways to combine these objects and concepts. “How do I make a shoe loud? How do I write Love in a hateful way? How do I create a face out of gears?” (Ya, know, gearhead.) You will sketch at least (20) distinct thumbnail logos. These sketches should be fast expressions, intuitive, low in fine details and most importantly, very different from each other. The size of these sketches should be 2×2 inches or smaller so that they remain intuitive. After you have sketched your initial thumbnails, present them to me so that I may discuss them with you. Together we will select your top 3 sketches/concepts for you to move forward with, and discuss things to explore moving forward. (20 sketches)
Some good ideas: https://99designs.com/blog/design-tutorials/conquering-creative-block-using-thumbnail-sketches/
Step 2: Exploring Your Best Ideas
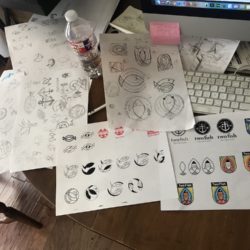
Present your thumbnails to me and we will decide which ones are your strongest ideas for each concept. We will choose three different directions (which may mix bits of separate sketches) for you to build out in Illustrator. If you haven’t explored enough with your sketches, I’ll have you do more before proceeding.
Examples of items to explore:
- The ligatures of your mark (if applicable)
- Relative positioning of type versus mark
- Contrast in weight
- Contrast in sharpness
Step 3: Making it Happen
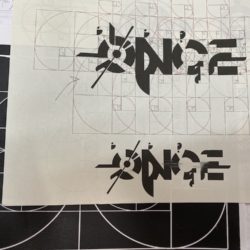
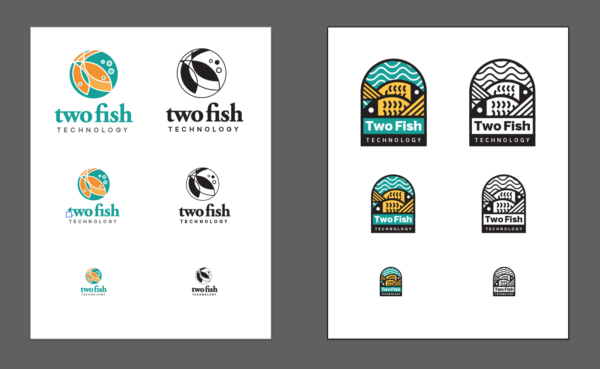
Now that we have identified your strongest versions for each concept, you should begin creating the chosen logos in Illustrator using only black and white. You should present the 3 logo options to me, created in Illustrator, with each one presented on a letter sized page with each show in black/white and color, and at 1inch, 2inches, and 3 inches as shown below.
Step 4: Fine-Tuning Your Mark
When the black and white logos are created, you and I will discuss topics such as craftsmanship, typography and detail elements. Refine each of your marks in black and white according to our discussions. You will later, in the next project using this logo, incorporate color into the logo, but stick with black and white for now.
Preparing Your Files and Submitting
Printed Version
Place each of your 3 black and white and color logos on one letter-sized page, each occupying no more than the 3 required sizes. They should be centered on your page and spaced out evenly. This should be ready for presentation before the beginning of class.
Digital Version
When complete, save either a 3-page pdf with each of your logos, or 3 separate pdfs. Place your project pdfs and your working file(s) into the same folder labeled with your last name and first initial + project-1 (EX. jones_a_project-2). Place your folder into the dropbox by the beginning of class on critique day.
Resources
- Comedy Central Re-Branding
- A Logo Design Process
- Solid Vintage Marks
- Re-Branding Failures
- Consulting Madness
- Retro Character
- Evolution of Logo Design
