Typography is not only informative, but its form in itself is such that it can make for beautiful or engaging imagery depending upon how it’s rendered, combined, colored, juxtaposed and manipulated.
You will create a promotional poster using expressive typography as your main component. Typography must be the focus, and the name of the event you create must be featured (if it’s not the most prominent element, there must be a reason why it isn’t). That doesn’t mean it needs to be the largest, as you’ve learned through your Visual Hierarchy studies. Your project will be graded on visual appeal, level of engagement (the purpose of a poster), and how well it reflects the mood of the event and in turn targets the audience you’re aiming for. The point of this project is to demonstrate an advanced knowledge of letter forms, typography as a design element, typography as an expressive tool, and to broaden your definition of typography beyond “a grouping of words, set in a typeface, arranged on a page.”
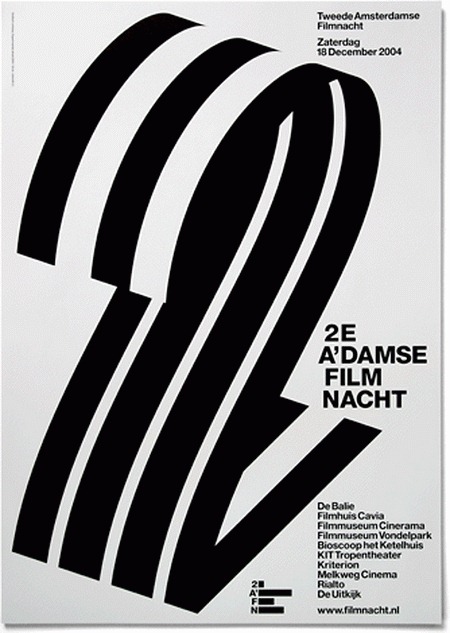
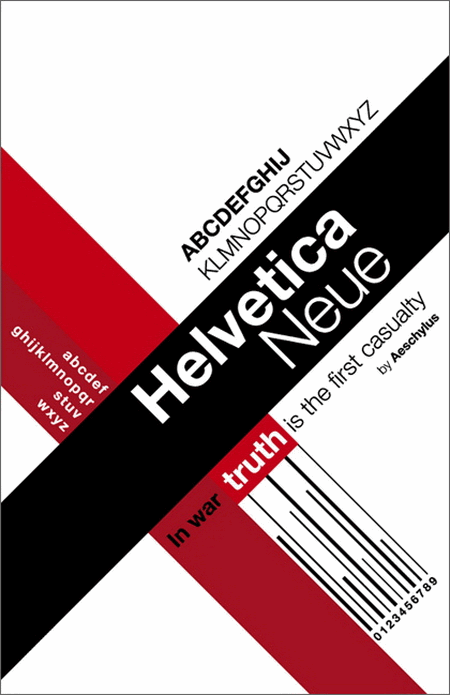
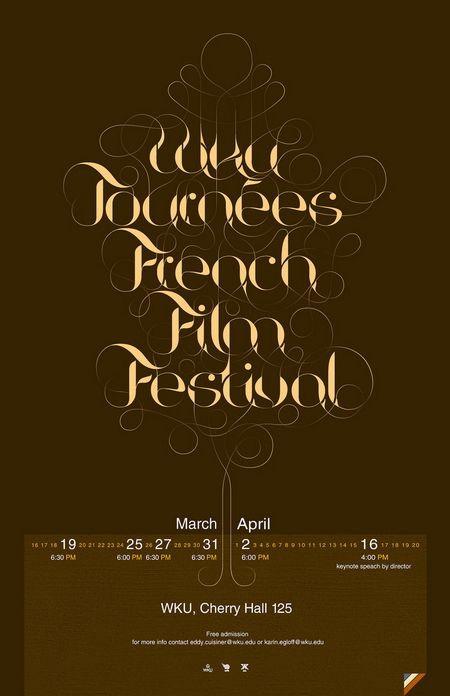
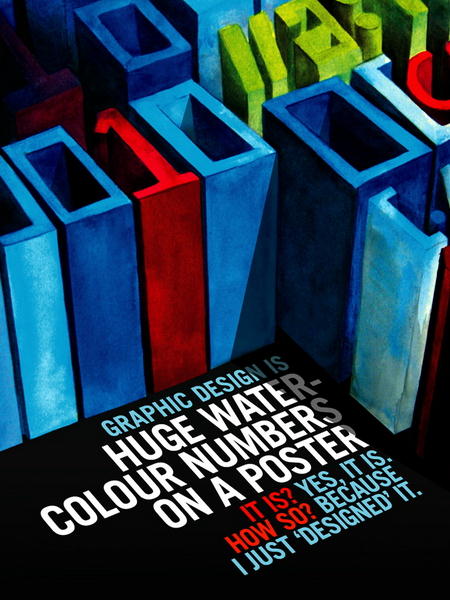
As you’ll see, the number of ways you can render typography is endless. You may choose to use a standard typeface as the basis of your poster. Or you can make it more interesting. Take photographs of letterpress blocks and render your event name if that makes sense for your event. Write it out in mustard. Photograph yourself creating the shapes of letters with your body. Mow it into your lawn and take aerial photographs of it.
Obviously some of these may be impractical or would only fit specific event types. The point is, you will be using typography in such a way that its treatment gives further meaning to the words presented, while communicating in an effective and immediate way with a targeted audience.
Project Specs
- 12×18 inches final poster size, CMYK
- Expressive type must be the focus; any other visual elements should be embellishment
- No photography
See me for approval if your idea warrants exception
Instructions
Step 1
Come up with an event that attempts to tackle the issue that you’ve chosen; the goal of the event may be to try and alleviate the problem, create awareness of the problem, or to get a dialogue going regarding the issue you’ve chosen. Examples of these type of events are things like “Race for the Cure.”
Come up with a name for the event and a paragraph or more describing your event and how it will affect change regarding your cause. Be specific with your event; it will make for a more interesting event and poster if you mix your issue with an activity of some sort. The more interesting (and perhaps unusual) your issue + event/activity pairing is, the more effective your event is likely to be, and the more interesting your graphics will be.
One example: If your issue is hunger, you could hold an event called Shredding Hunger at which people bring their instruments and hold a guitar jam session and also bring food or donations for the hungry. That way your event is attractive and enticing and also tackles the issue at hand.
You must get approval of your concept (not your full description) before pursuing it with the 10 required sketches.
Step 2
Write a paragraph (more if needed) which describes your event in detail and how it will address the issue you’ve chosen. Be specific; this will help you in your design efforts and is a more realistic scenario. Content comes before design when you are designing in the real world. (Due 10-3-2013)
Step 3
Once your concept is approved, create 10 distinct sketches of your poster to be discussed and reviewed the class after the project is assigned. (Due 10-3-2013)
Step 4
Continue to explore your layout and further refine your concept, creating more sketches if necessary, guided by feedback with instructor and peers.
Step 5
Gather any materials necessary to create your poster, if applicable. If you need to paint your letters on a piece of metal, burn then into wood, or write them in chalk and photograph it, do it.
Step 6
Begin creating your layout in Illustrator or Photoshop. Get feedback on your layout, and we will work out the details of it to bring it to a final state.
Submission
Digital Submission
When you are ready to submit your project, save your working files and a 12×18 pdf proof with no bleed or margins in a folder called [lastname_firstinitial_project-3] and place them in the Type 2 dropbox by the beginning of class on critique day.
Physical Copy
Get your poster printed at full size and present a physical copy for critique. You are not required to mount this print, but the print should be of high quality. Do not wait until the last minute to print your poster or you will not have time to ensure you get the best print quality you can, and your trimming (and grade) is likely to suffer.
Resources
- http://www.addictivefonts.com/inspirations/typography-inspiration-1/
- http://www.addictivefonts.com/inspirations/typography-inspiration-2/
- http://www.smashingmagazine.com/2008/02/25/breathtaking-typographic-posters/
- http://blog.spoongraphics.co.uk/articles/30-creative-examples-of-typography-poster-designs